
Cook with Luke | Gluten Free
3 Videos
4:13

5:02

4:31
Recipe
Serves: 2
Ingredients:
Pad Thai Sauce
- 2 tbsp pure maple syrup or honey
- 2 tbsp sugar-free fish sauce
- 2 tbsp coconut aminos
- 2 tbsp lime juice
- 2 tbsp smooth peanut butter
- 1 tbsp apple cider vinegar vinegar
- 1 tbsp chilli paste, extra if you like it hot
Pad Thai Base
- 1 tbsp extra virgin olive oil
- 4 garlic cloves, finely chopped
- 4 spring onions (scallions), thinly sliced, whites and greens separated
- 2 tsp fresh ginger, minced
- 1 tbsp chilli paste (such as sambal oelek)
- 1 x 300 g (10 1/2 oz) skinless free-range chicken breast fillets, cut into even-sized cubes
- 2 free-range eggs, beaten
- 200 g (g 7 oz) flat rice noodles
- 1 cup (115g / 4 oz) bean sprouts
- 1/4 cup (35g / 1 1/4 oz) peanuts, toasted, roughly chopped
- 1/4 bunch fresh coriander leaves
Lime cheeks, to serve
Method:
- Get started on your Pad Thai sauce by whisking the ingredients in a bowl until well combined and smooth.
- For your Pad Thai base, heat a large, deep fry pan or wok over medium heat and add the extra virgin olive oil. Add the garlic and ginger, and cook stirring for 2-3 minutes until softened and aromatic.
- Add in the white parts of the spring onion and the chilli paste and continue to cook, stirring, for 1-2 minutes or until the onions have softened. Add the diced chicken to the pan and cook for 5-6 minutes, browning all sides, and tossing through the flavours.
- While your chicken cooks through, it’s a good time to whisk your eggs and drain and prepare your rice noodles by soaking them in hot water for 10 minutes.
- Once your chicken is cooked through, remove it from the pan onto a plate next to the stove. Add the noodles to the pan and cook for 5 minutes or until firm. Once cooked, pour the beaten egg into the noodles and toss in the pan, stir-frying for 2-3 minutes until the eggs are scrambled.
- Add the chicken and Pad Thai sauce to the pan and continue to cook, tossing and turning for 1-2 minutes until well combined and all over flavour coverage.
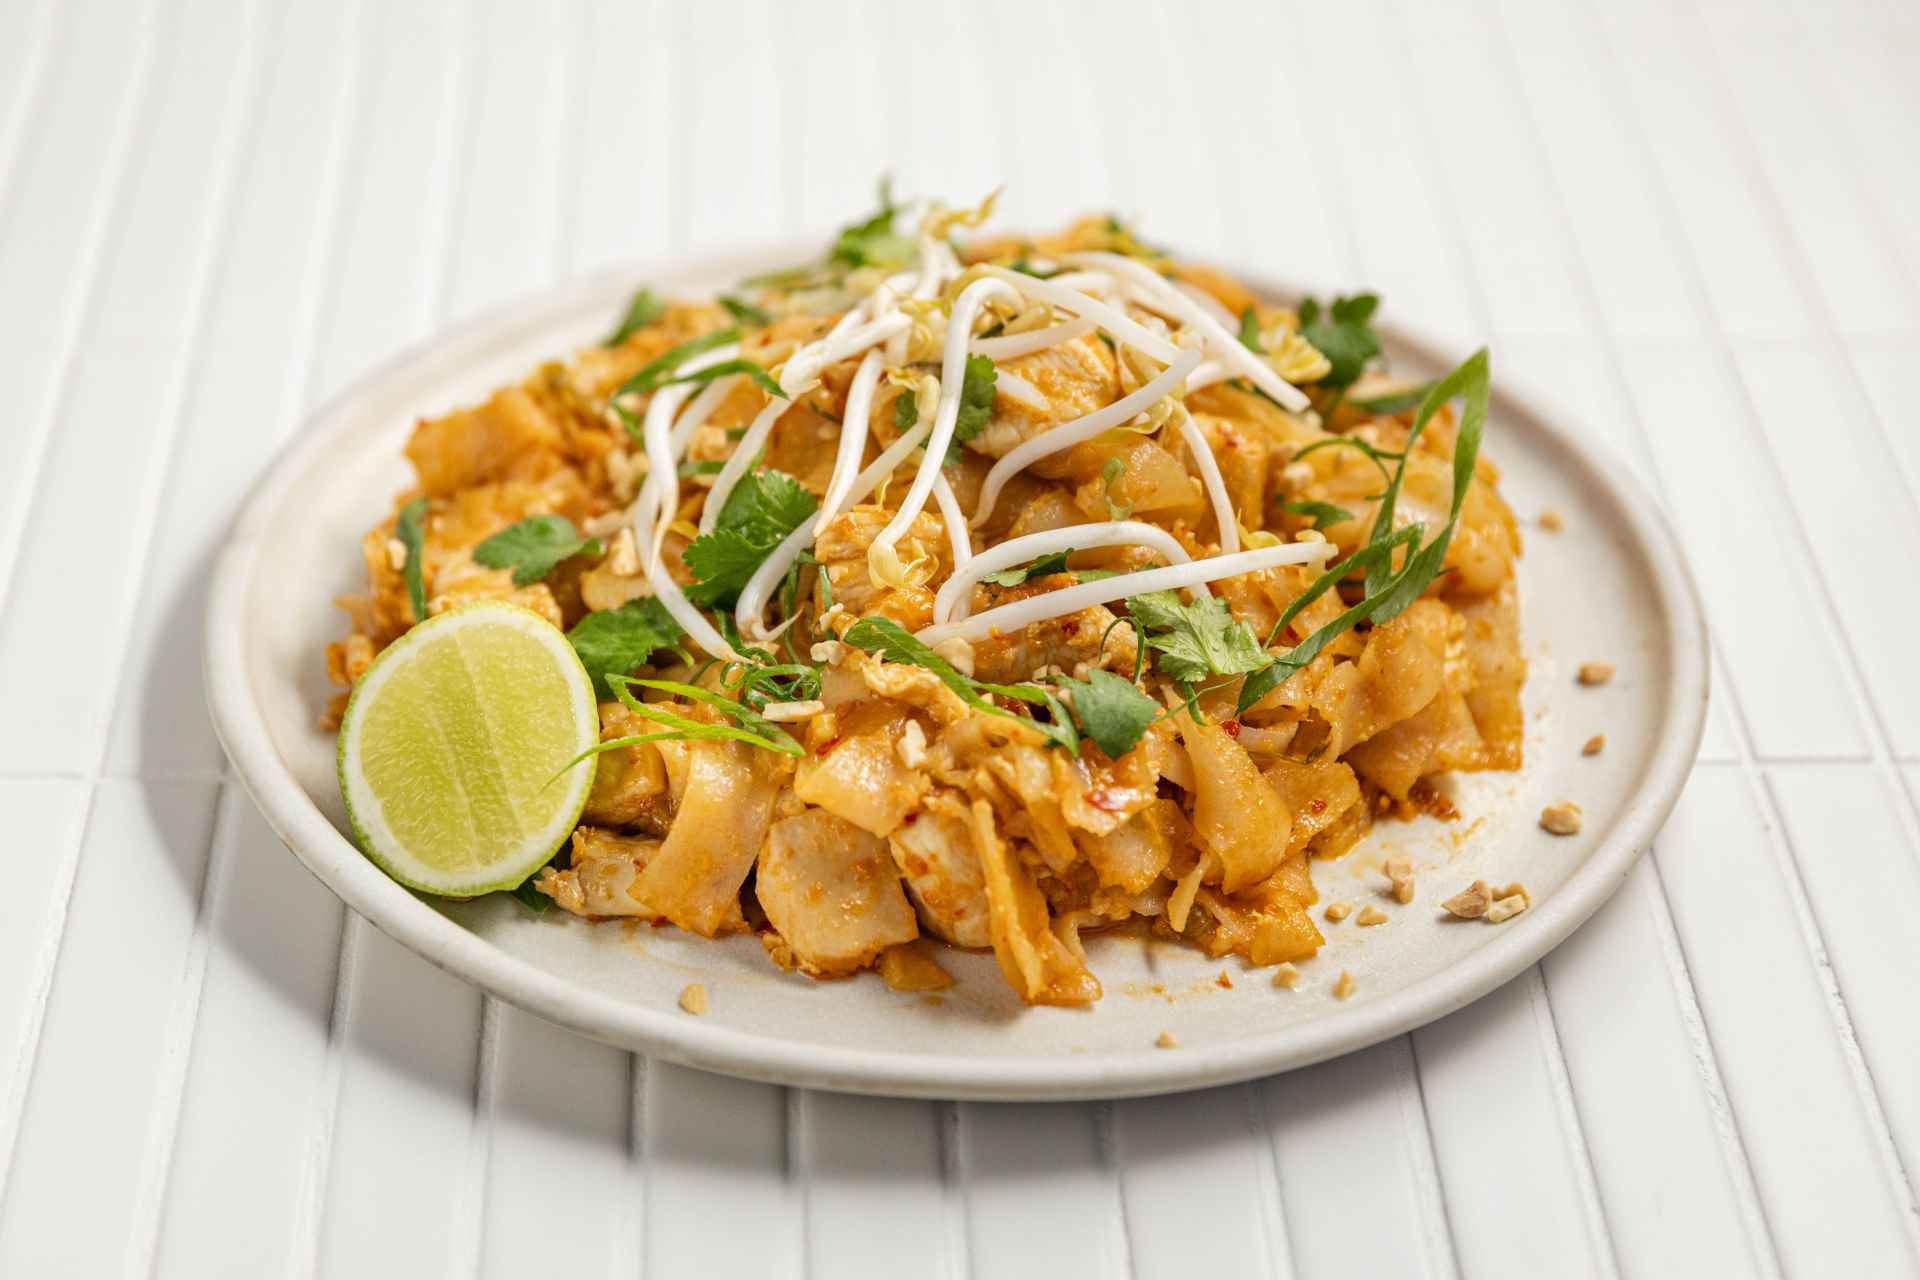
- Serve on a large sharing platter with green onion slices, toasted peanuts, fresh coriander, bean sprouts, and some lime cheeks to squeeze and serve.
Recipe
Serves: 2
Ingredients:
- 4 x 100% corn street tacos
- 4 free-range eggs, fried (poached or scrambled work well too)
- 1 avocado
- 1 lime, juiced
- 1 tbsp extra virgin olive oil, coconut oil or grass-fed butter
- Salt and cracked black pepper
Pico de Gallo
- 2 tomatoes, fine diced and drained
- 1/2 long red chilli, finely diced, plus extra to garnish
- 1/4 red onion, fine diced, plus extra to garnish
- 1/4 cup finely chopped fresh coriander, plus extra to garnish
- Juice and zest of 1 lime
Method:
- Preheat your oven to 180°C (350°F) and line a tray with baking paper.
- Place your tacos on the tray, lightly brush with some olive oil and bake for 10-15 minutes or until lightly golden brown and very crispy and crunchy. Keep these warm in the oven on very low while you get the remaining ingredients ready.
- For the avocado, in a small bowl use a fork to smash the avocado with the juice of 1 lime and a generous season of salt.
- For the Pico de Gallo, in a bowl combine the tomatoes, long red chilli, red onion and coriander with the juice and zest of 1 lime. Season well with salt and pepper and set aside. Store any leftovers of this in the fridge in an airtight container for up to 3 days.
- To plate up, start with a base of your golden brown, crispy and crunchy tacos, load each with a dollop of the smashed avocado, then top with your fried eggs, and a heaped tablespoon of your Pico de Gallo.
- Season with salt and pepper, and a drizzle of extra virgin olive oil if you like with a garnish of the reserved finely chopped chilli and coriander.


